Don’t we just love old jeans! All that fading and distressing; it
seems such a waste to turf them out just because they’ve worn through on
the knees or thighs. This tutorial shows you how to make a gorgeous
summer skirt using the bit that never seems to fall apart – the “body”.
(You could make this for a child too, you just need a lot less
fabric and narrower tiers).
I own a few of these skirts but this one is far too teeny for me.
To make this skirt I used:
- an old pair of jeans
- three summer cotton fabrics, 2.3m in total (0.4m for the top, 0.7m for the second and 1.2 for the bottom)
- ric-rac trim and buttons
- thread
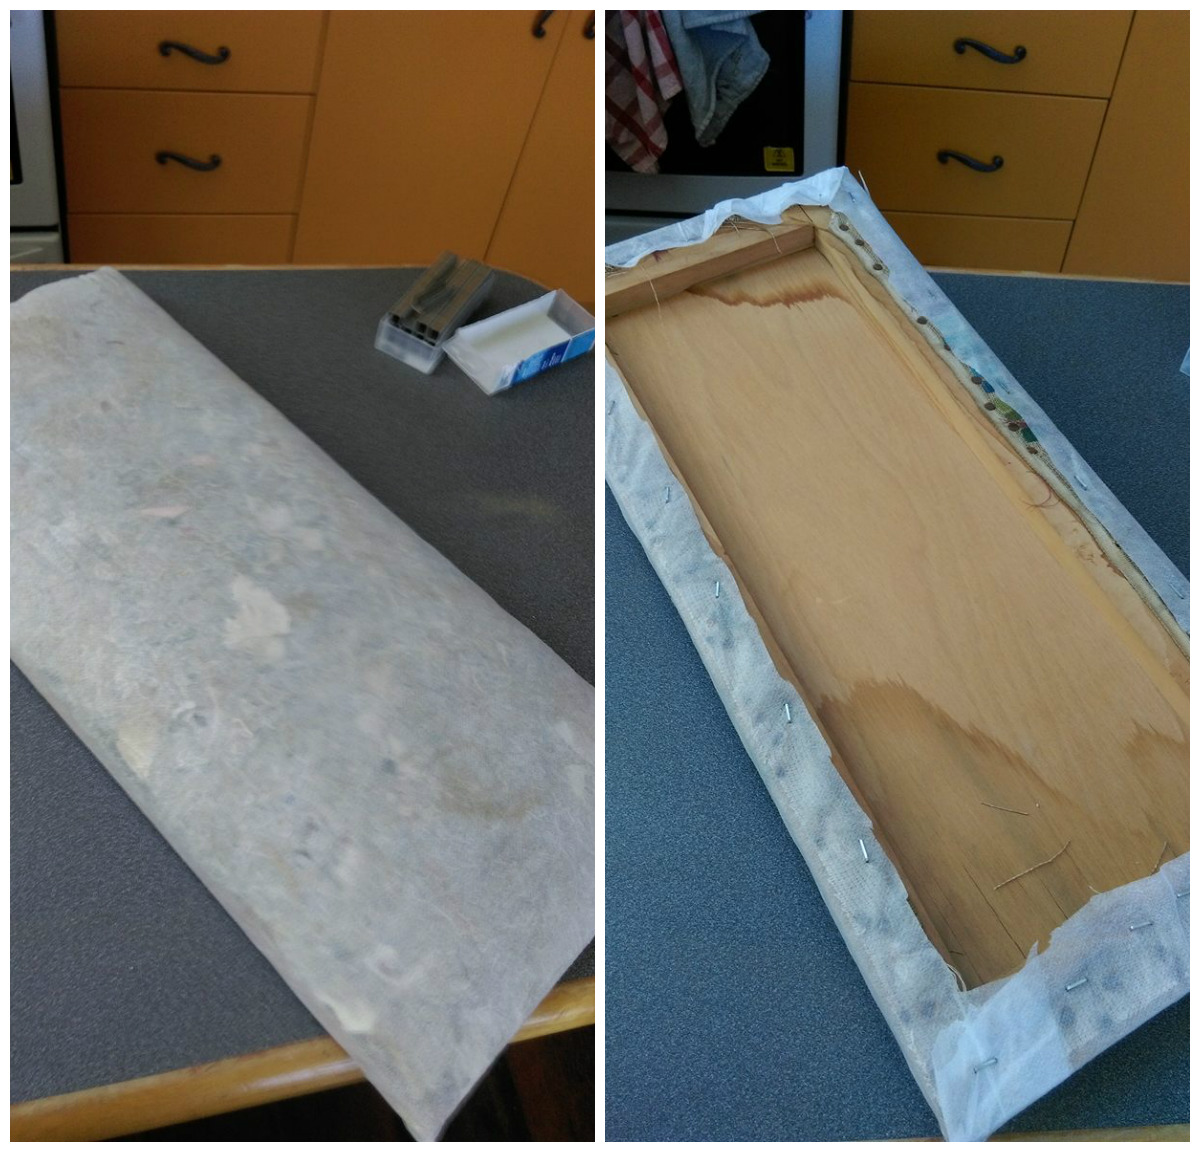
I cut the legs right off the jeans (saving the useable bits for
patching other projects), making sure you don’t cut the front pocket
bags! If possible save the back pockets. If not, just cut the bottom of
them off like I did. (you’ll have to take my word for that!)
Now fold your jeans sideways so the fly is at one end and the centre
back at the other. Line up the two layers of waist band and pin evenly.
Work
out how deep you want the denim basque of your new skirt to be – I made
ours 22cm deep. Measure from the waist band to that line and pin every
5cm or so. Then you can cut off any excess carefully along the pinned line through both
layers, making sure you don’t cut the front pocket bags again! I did
this with pinking shears.
When that’s all done, unpick the curved seam at the front below the fly.

Lap the original outside over the other side flat, then top stitch through all the layers over the original stitching lines.

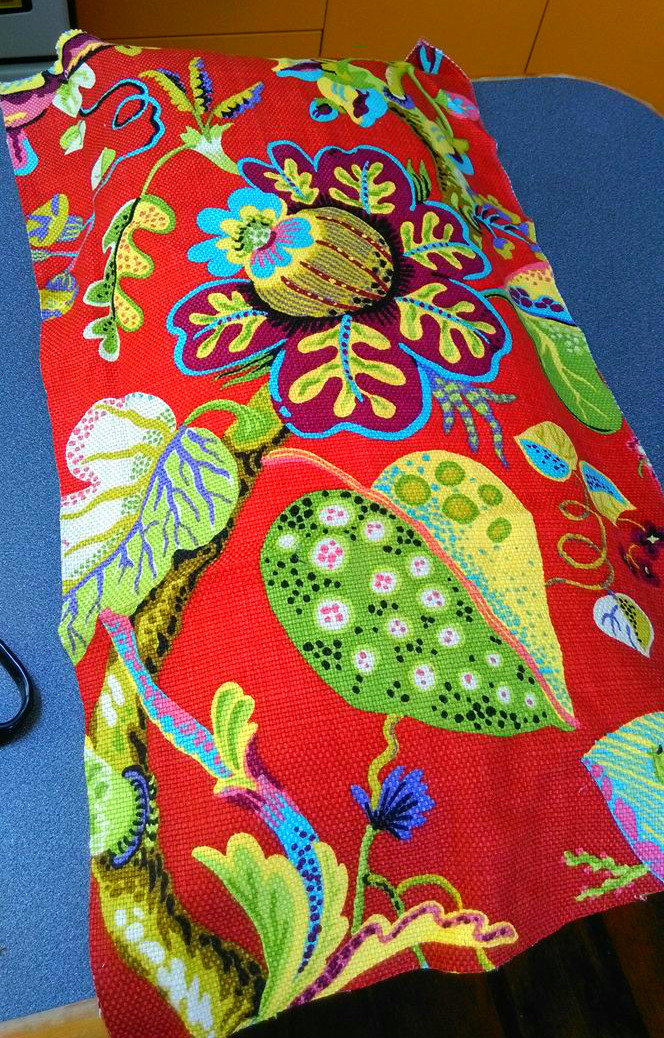
Work
out what order you want your fabrics to go in – I liked the yellow Amy
Butler print breaking up the more blue based other ones. I cut my tiers:
2 widths x 18cm for the top, 3 widths x 23cm for the middle and 4
widths x 28cm for the bottom one. Increasing the tiers towards the
bottom like this makes the skirt balance better visually.
Now
the trick to sewing the three tiers together is to not “over-gather”
the fabric or the skirt grows enormous! To get around this, and to avoid
the unspeakable horror of the whole gathering stitches, pulling up and
pinning, this is what I do:
Join the strips for each layer together, pressing the seams open, so each is a continuous flat strip.
Don’t
sew the ends of this strip together. The top tier doesn’t want to be
two whole widths around, so cut about 55cm off the end for a size 10-16,
less for larger sizes.
Starting with the top and middle tiers, I put them right sides
together both at the beginning of the strips with the middle (yellow)
tier on the top, and I pleat it straight in under the machine foot. In
the photo above I pinned the next pleat to show you how deep I make them
but in reality I just form the pleat with my fingers and feed it under
the foot. Not too deep and not too close together, that’s the trick.
Remember you’re just pleating the fabric on top, not the one underneath.
Just keep pleating until you get to the
end of the underneath strip. As you can see in the photo, I ran
out of top tier just after a seam in the middle tier, but it doesn’t
matter, no one notices. Just trim the middle tier so it is “flush” with
the top tier.
Here’s a pic of the right side showing these two tiers sewn together

Use the same process to join the last tier to the middle tier.
Remember not to pleat too close together or too deeply. Cut any overhang
at the end of the final tier.
To make the skirt, bring the two edges of the skirt together, right
sides together, line up the tier seams, pin and sew straight through.

Press
the seam open. You may notice that I haven’t neatened any of my raw
edges with an overlocker or zig zag. That’s because these kinds of
cottons really don’t fray much so there’s no real need to, unless you
wish to. To each their own!

I then joined the skirt to the denim basque. In this case, I did use
two rows of gathering, and eased it in a little so it just fit, with the
one seam down the centre back. Instead of sewing right sides together, I
lapped the raw edge of the top of the skirt under the bottom of the
basque and sewed them through in two rows. This leaves the raw pinked
denim edge on the top layer, which will fluff up with washing like the
bottom of cut off jeans.

Cost of project: jeans $5 from an op shop, fabrics $36.80 from the shop's
$16m range. Ric-rac was $2m and I used 1m. Buttons were $5, total:
$44.80. Not bad!


